Creating Screenshots with cropped images

Rationale: When embedding images in documents, it is often useful to crop an image, rather than using the entire screenshot. In many cases, you are only using part of a screenshot to make your point. As well, cropping an image can take up less space on the page, and allows the cropped image to be viewed at a higher level of resolution.

Goal: This tutorial describes how to use LibreOffice Draw to create a cropped screenshot from a larger image, and embedding it into your document.

We assume that you are already writing a document in LibreOffice.

Using the Screenshot tool, take a screenshot of the window you wish to  grab. The image will appear in the screenshot tool.


Next, open an empty LibreOffice Draw document to use as a scratchpad. While it is possible to do these steps in your current document, using a scratchpad document prevents accidental changes in your main document.

In the Screenshot tool, click on Copy to Clipboard. Next, go to the scratchpad document and paste the image there.


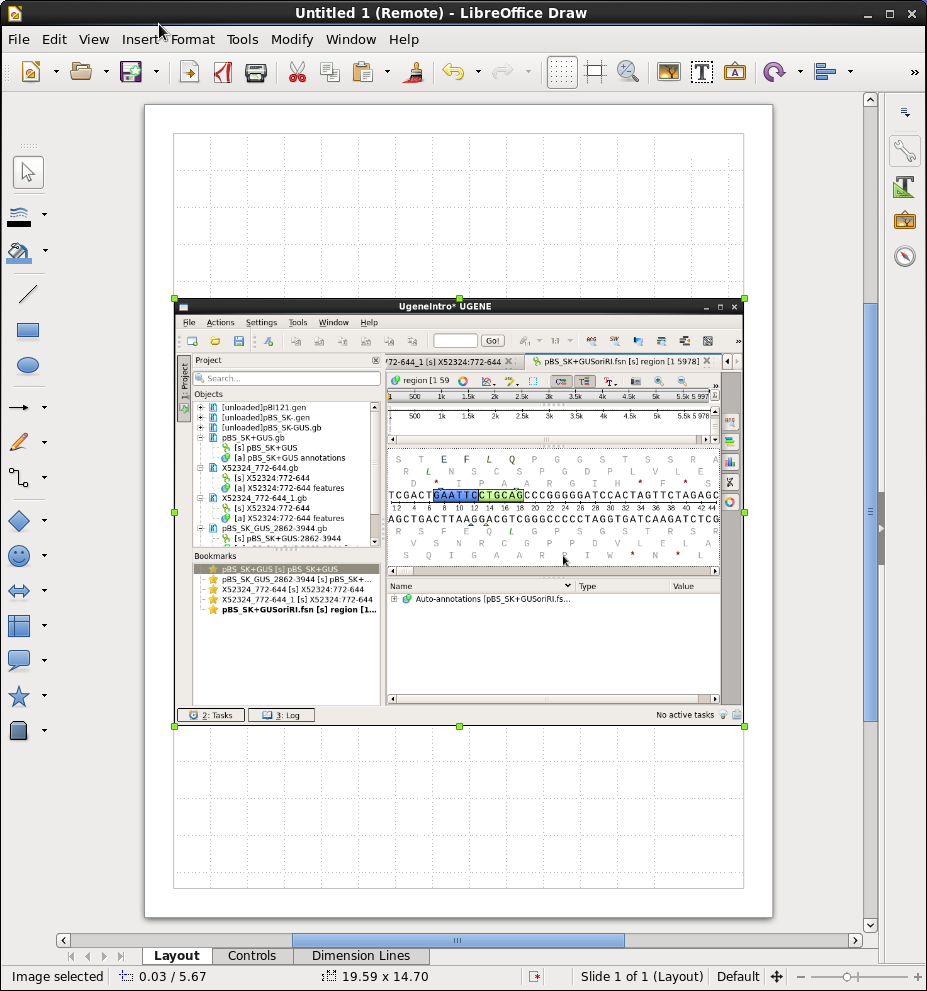
To crop the image, first make sure that your image is selected by clicking once on the image. Green boxes on the image frame indicate that the image is selected. 
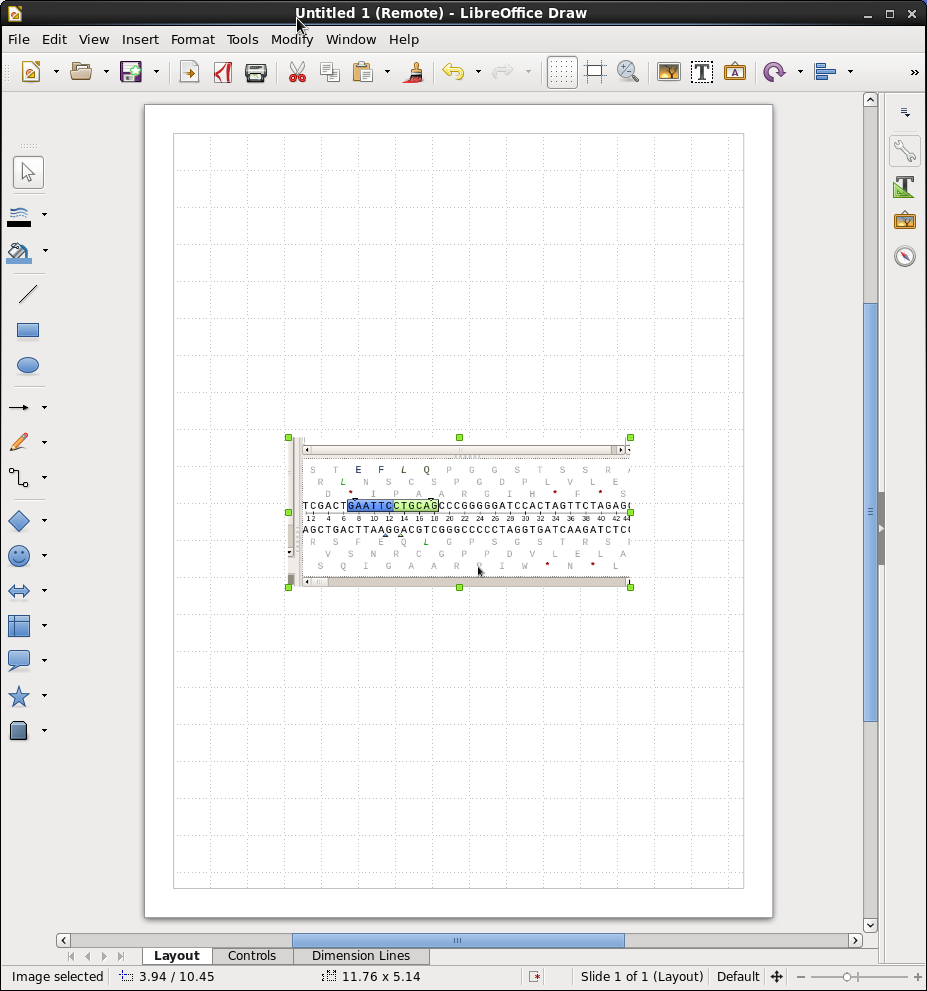
Next, choose Format --> Crop image. The Crop tool will appear with a thumbnail of your image. Unlike most graphics programs, which let you select an area with the mouse, the Crop tool lets you set the boundaries of the cropped image with four controls marked Left, Right, Top and Bottom. Each of these controls move a line across the image to form a rectangle. 

It is usually easiest to change the four Crop controls using the up and down arrows, rather than trying to type a number into each. The selected region is shown as a black rectangle. To crop the image, click on OK.


At this point, you can copy the cropped image and paste it into your document.


How to export a modified image to a file

If you wish to save your image to a file, rather than copying it to a document, do the following:
  1. Select the image in the document
  2. File --> Export
  3. In the Export window, click on "Selection", and choose the file format eg. PNG.
  4. Click on Save
  5. In the PNG Options window, it is usually best to make sure that the Save transparency box is NOT checked. Save transparency will save the image with no background, which often results in the image appearing completely black if you try to print it. By unselecting this option, the image will be saved with a white background.