TUTORIAL: Introduction to Ugene |
March 23, 2021 |
TUTORIAL: Introduction to Ugene |
March 23, 2021 |
| cd tutorials mkdir ugene cd ugene mkdir intro cd intro |
go into tutorials directory create a directory called ugene go into the ugene directory create a subdirectory called intro go into the intro directory |
 . The
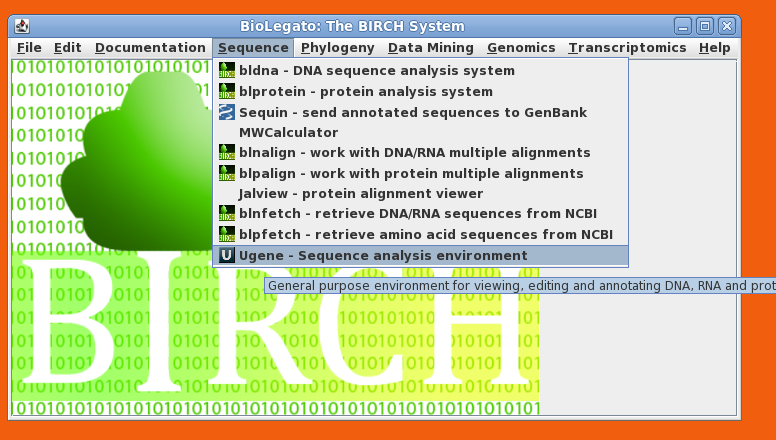
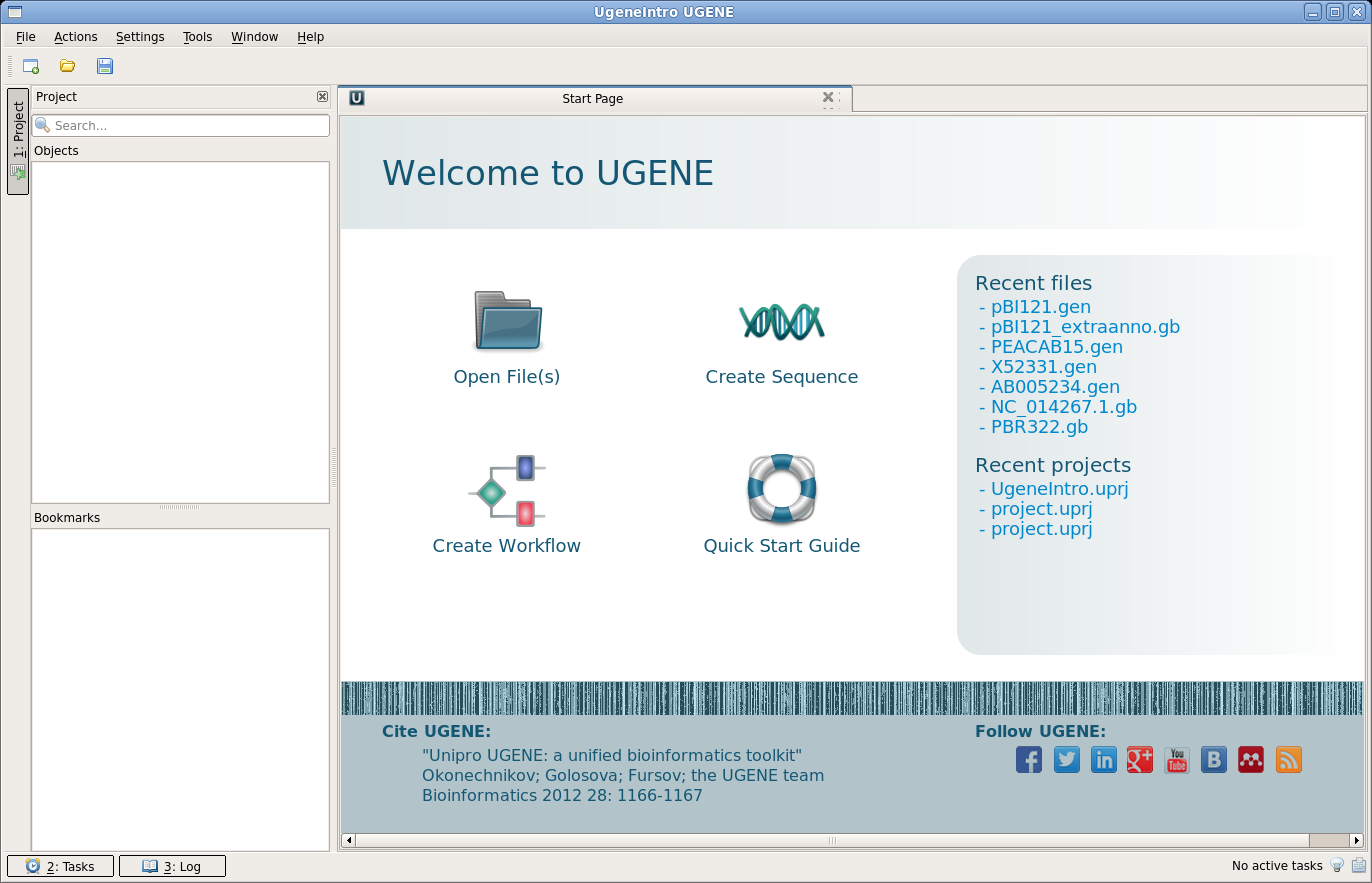
BIRCH launcher will appear. Launch Ugene from the Sequence menu:
| >>>First
time setup for Ugene<<< On multiuser Linux systems, Ugene has difficulty writing temporary files. This is a difficult to reproduce problem, and seems to only affect some percentage of users. Nonethless, it is probably best to set a workaround so that the problem isn't encountered. The first time you run Ugene, go to Settings --> Preferences. In the Application Settings window go to the Directories section. |
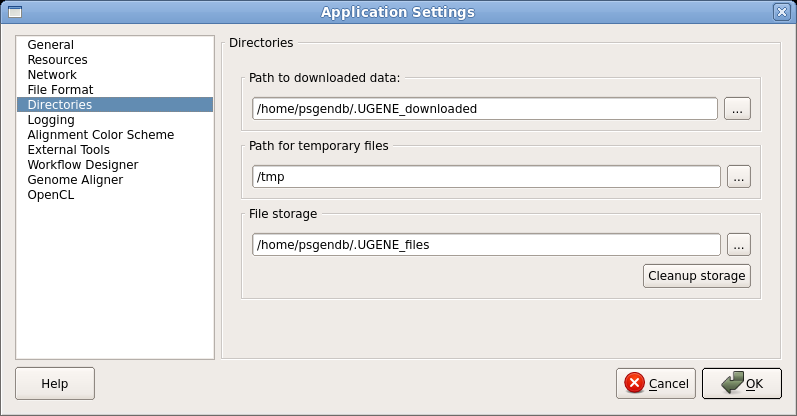 |
| Find the Temporary files line. By
default, the Path for temporary files goes to /tmp, which is
writeable by all users. Nonethless, sometimes, Ugene gives
an error message saying that files can't be written to /tmp.
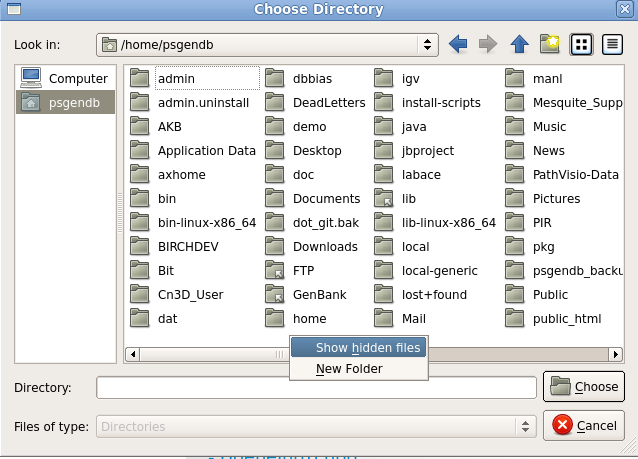
The workaround is as follows: Click on the "..." button to
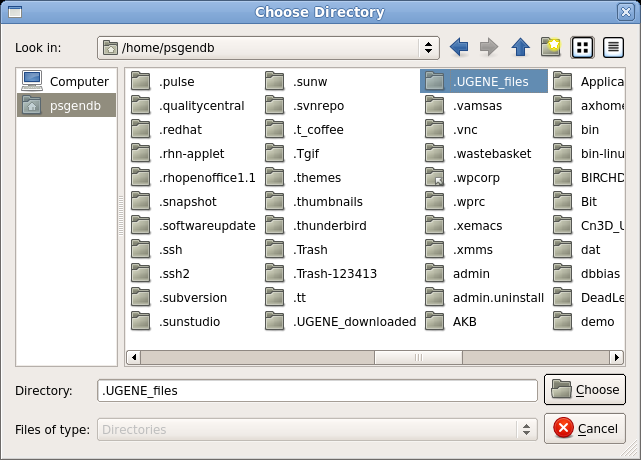
open a file chooser. In the file chooser, click on the name
of your $HOME directory in the left column (shown as
"psgendb" in this example). Next, go into the file pane and right click to bring up the menu. Choose "Show hidden files". This will show you directories whose names begin with ".". These directories are contain configuration files and other application-specific data. |
 |
| Choose ".UGENE_files" directory and click on
Choose. The Path for temporary files should now be set to
this directory. Also, check the Documents line. If the Documents directory is not set to your home directory, change this line to point to your home directory, NOT, the $HOME/Documents directory. Click on OK to return to your UGENE session. |
 |
 |
 |
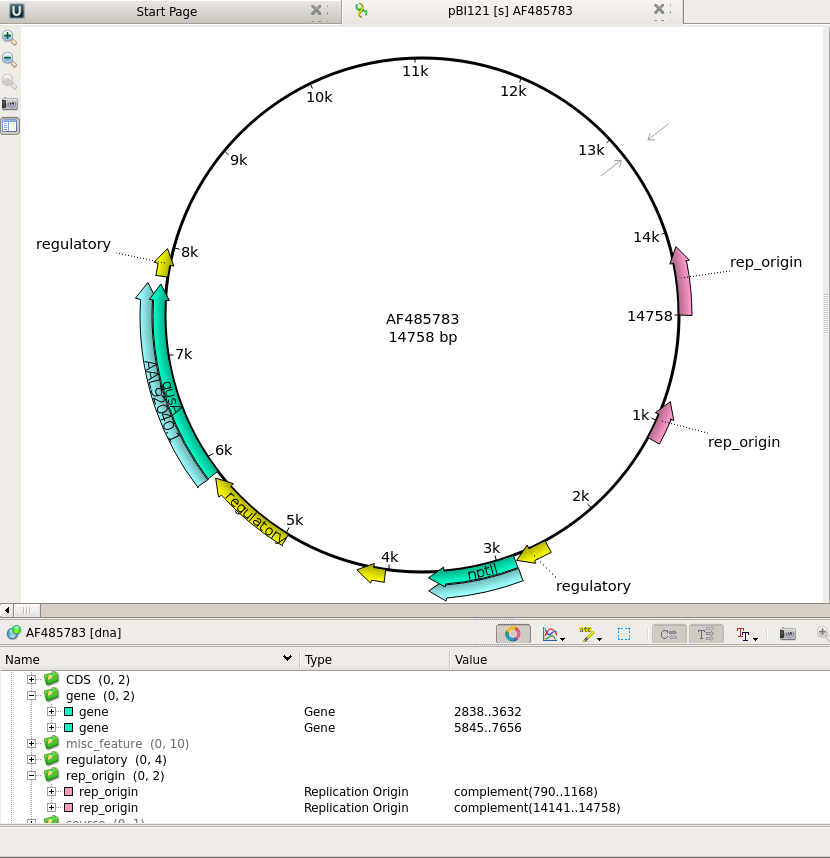
| For
example, there are two replication orgins in pBI121. the OriV origin is needed for this pBI121 to replicate in Agrobacterium tumefaciens. |
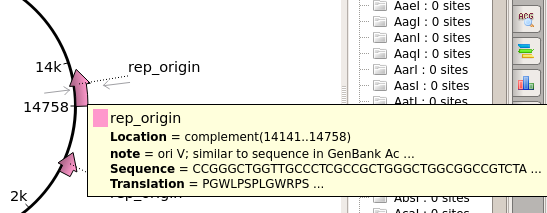 |
| The
ColE1 origin is needed for replication in E. coli. |
 |
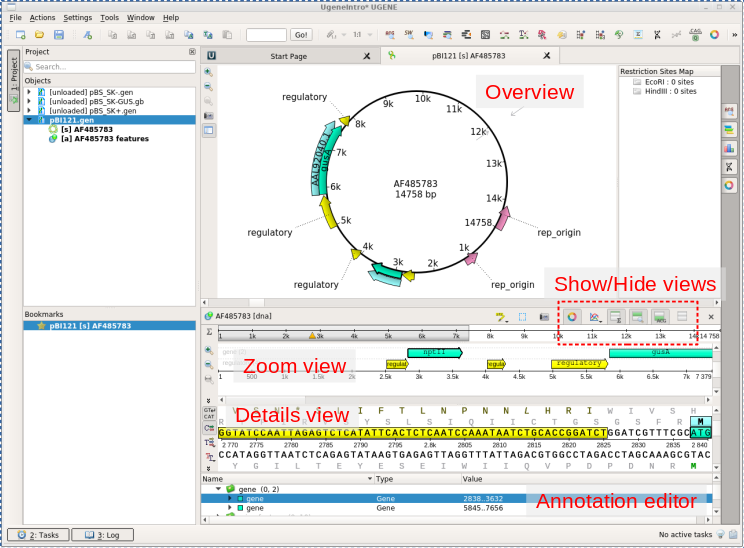
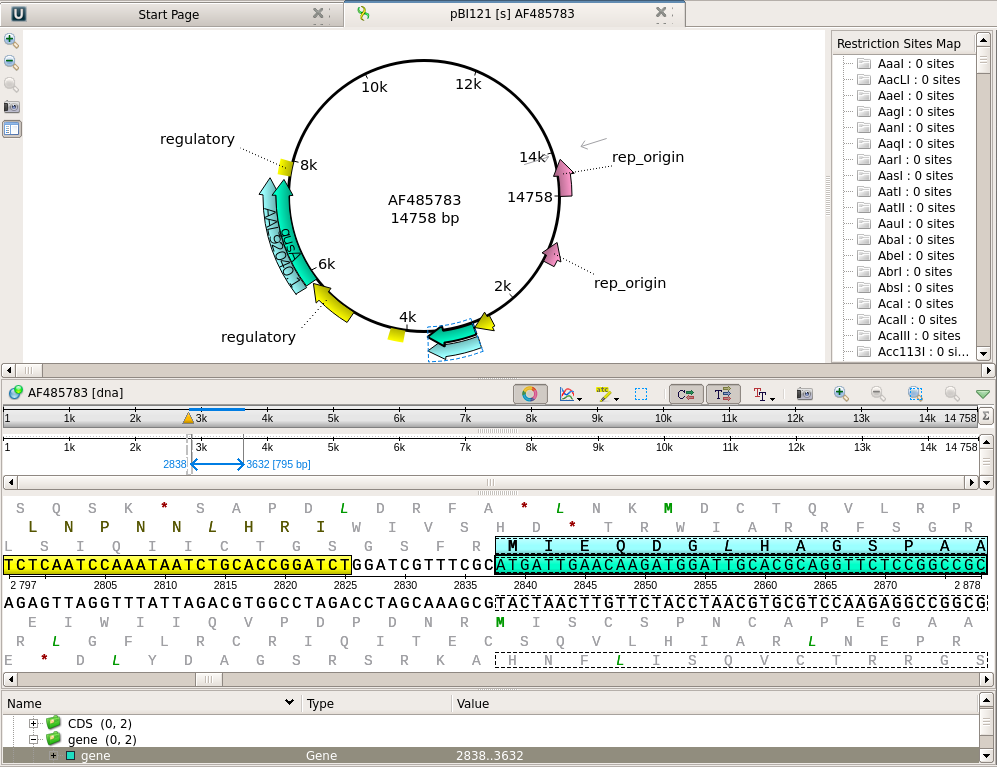
| Note
that the nptII gene feature is shown in the Overview and
the Details view respectively as a box and an arrow. In the Details view, the coding sequence and the translation are both highlighted. In the Annotation editor, the annotation list has opened to the gene feature for nptII. |
 |
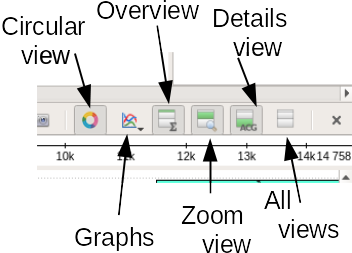
| THESE BUTTONS WILL MAKE
UGENE MUCH EASIER TO USE! There is sometimes a trade-off between having several views and screen space. Show/Hide buttons (in red dotted lines above) let you control which views are open. For example, to make the Overview bigger, try using this menu to hide the Details view and the Zoom view. Next, you can make a bit more space for the Annotations editor by dragging the double line above the Annotations editor upwards. The result should look something like that shown in the next panel at far right. |
 |
 You
can also
add some space by
clicking on the
Show/Hide Restriction
sites button,
which
is circled at
left. You
can also
add some space by
clicking on the
Show/Hide Restriction
sites button,
which
is circled at
left. |
 |
| Ugene
can organize sets of related files into
projects. The contents of the current
project are displayed in the Project bar
at the left of the Ugene window. This
would be a good time to save our work so far
as a Ugene project.
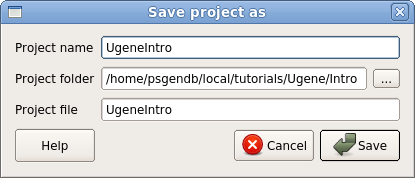
Choose File --> Save project as.
Set Project name: UgeneIntro Project folder: choose the intro folder Project file: UgeneIntro |
 |
| To
demonstrate how to read a project back
in, start Ugene again.
Normally, Ugene will not load the project files until
you explicitly ask them to be
loaded. In this
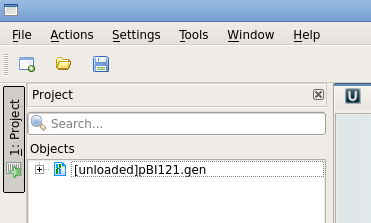
project, pBI121.gen is shown at right as
[unloaded]. To load this file, select pBI121.gen and right click to open the load menu. Choose "Load selected document". At this point, Ugene will display pBI121 as shown previously. |
 |
| Open
the Analyze menu, which can be found in the
Actions menu, or by right-clicking within the Overview
pane. Choose Find Restriction sites, and then Open
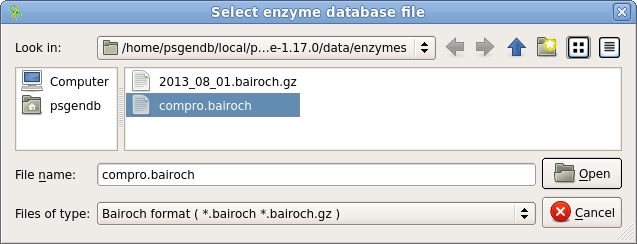
enzymes. Select compro.bairoch and click on Open. This file contains a subset of restrictions from the REBASE database, including only those enzymes commercially available, and only one enzyme (ie. the prototype) for each recognition sequence. By eliminating redundant enzymes, the display won't be cluttered. |
 |
| Click
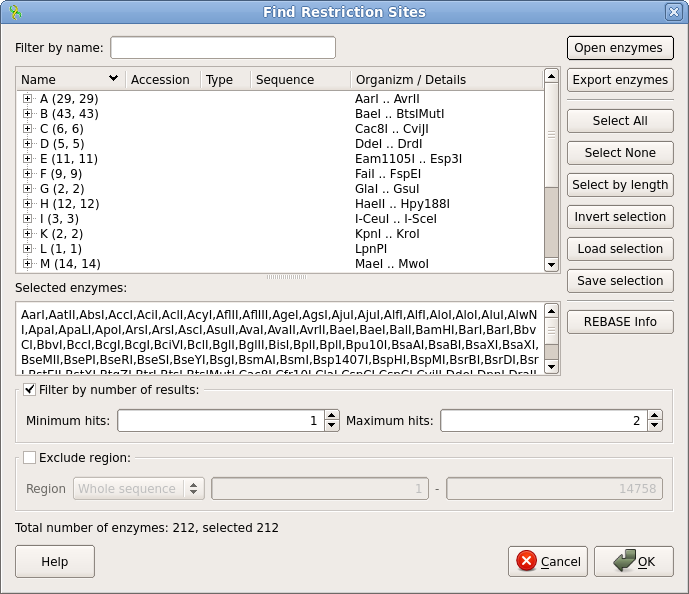
on Select All to select all enzymes. Since we're only
interested in enzymes that cut a maximum of twice in the
plasmid, make sure that Minimum hits is set to 1, and
Maximum hits is set to 2. Click on OK to begin the
search. |
 |
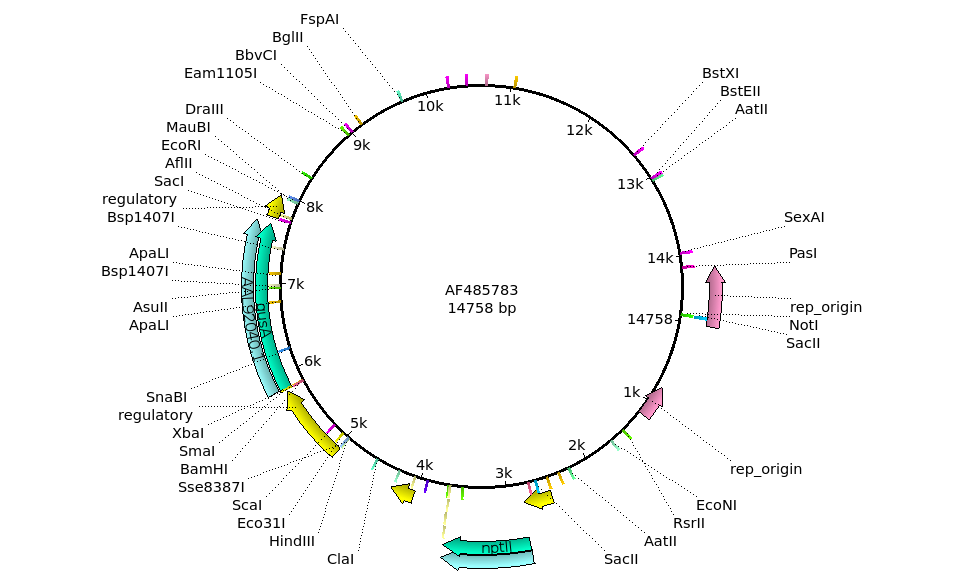
| The
restriction sites found will appear on the map, along with
the annotations. Two promising sites are the HindIII site at around 5 kb, and the EcoRI site at around 8 kb. |
 |
| If
you open the Details view you can see the HindIII site by
clicking on "HindIII" in the Overview. This will cause the
Details view to jump to the HindIII site, AAGCTT. The
cutting sites on both strands are indicated by small
triangles superimposed over the sequence. More
complete information can be found by mousing over the
HindIII site. |
 |
| Next,
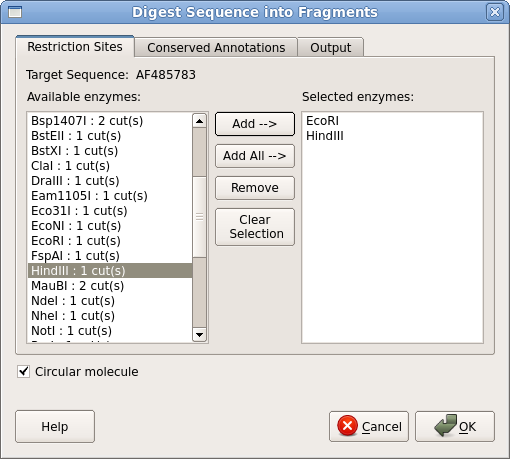
we need to digest pBI121 with EcoRI and HindIII. Either go to the
Actions menu at top, or right click in the Overview
window and choose
Cloning --> Digest into Fragments. Use the Add
button to add EcoRI and HindIII to the Selected enzymes
pane. Click on OK. |
 |
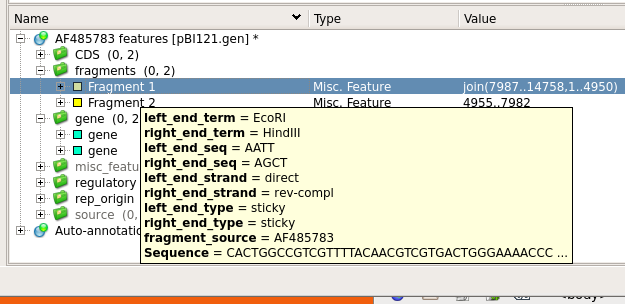
| To
make some space, Hide the Details pane, and go to the Annotation
Editor. If you open the tabs below "AF485783
features", you will see two fragments listed. Mousing over
the fragments will show you details of these two
EcoRI/HindIII fragments. Each fragment has one EcoRI end,
and one HindIII end. |
 |
Choose
File -->
Open,
and open
the file
pBS_SK-.gen. An entry for pBS_SK-.gen will appear in
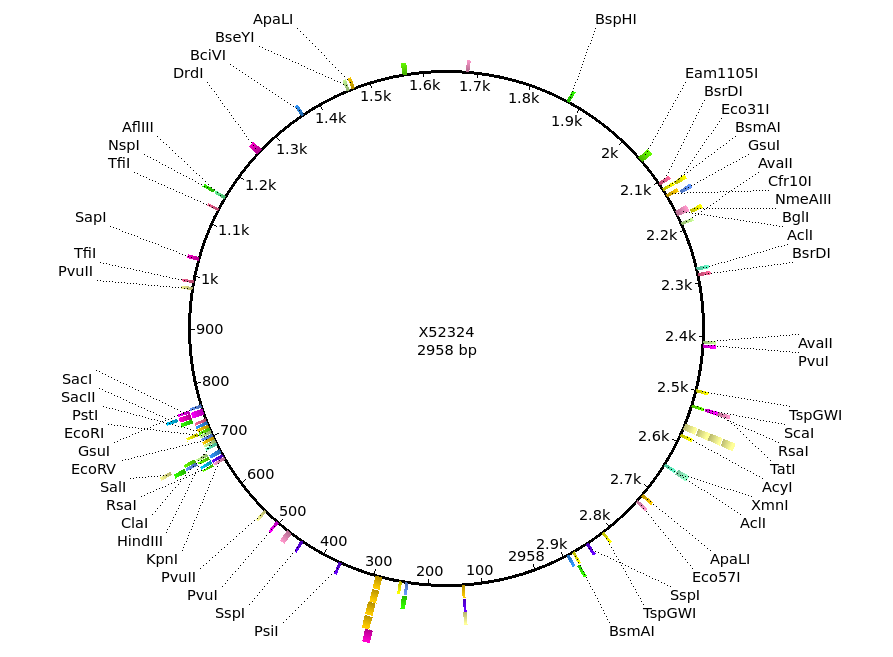
the project menu as shown below.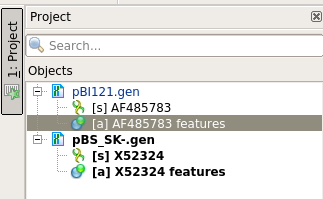 At right, we can see the restriction map for Bluescript. Although the GenBank entry contains no annotation to be displayed, Ugene has thoughtfully done an automatic search for the same list of Restriction Enzymes. It is easy to see the multiple cloning site, centered around 700 on the circle. |
 |
| The
cloning operation is done as follows: Open the Actions
menu, or right click in the Overview and choose Cloning
--> Construct molecule. The fragments we want are
the 3 kb fragment from pBI121, and the larger fragment,
Fragment 1, from pBS_SK-. (The smaller fragment is a tiny
8 bp fragment between the HindIII and EcoRI sites.) Select
each fragment you want and use the Add button to
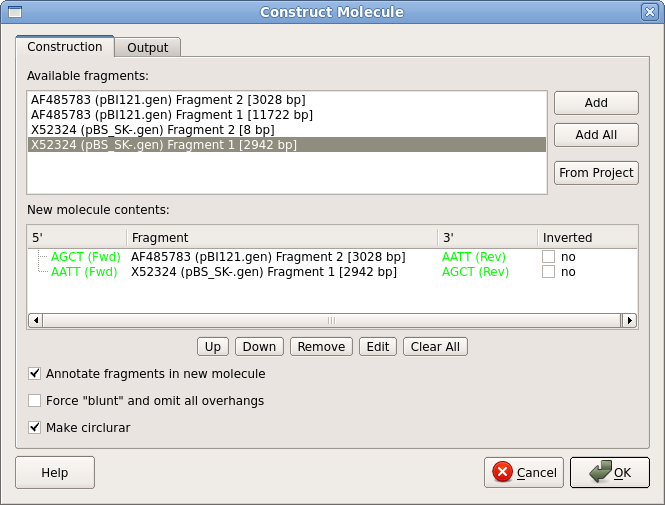
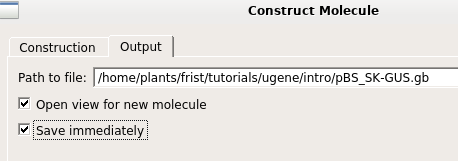
add them to the new construct. Also, make sure that the "Annotate fragments" and "Make circular" boxes are checked. The ends of the two fragments are shown in green. Next, go to the Output tab, and set the output file name to pBS_SK-GUS.gb. Click on OK to generate the new construct. |
  |
| The new construct will appear in a new Ugene
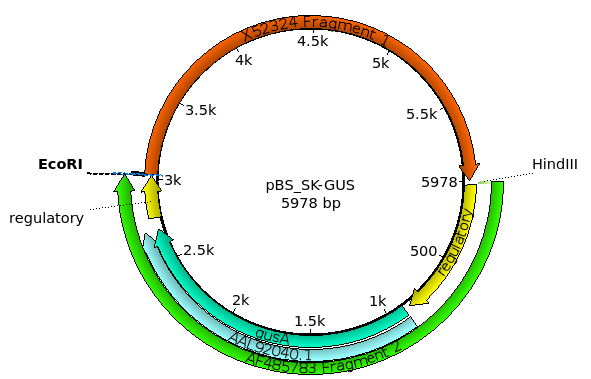
tab. Initially, Ugene will display all of the restriction sites in the Overview. To make the view a bit less cluttered, redo the restriction search from before using Analyze --> Find Restriction Sites. However, in the Find Restriction Sites window, first click on the Select None button. Next, open the +E and +H tabs and check ONLY EcoRI and HindIII. Click on OK to display the new view. |
 |
| You
can save maps from Eugene at any time as
a bitmap graphic file. Right-click in the
Overview window and choose Export
--> Save circular view as
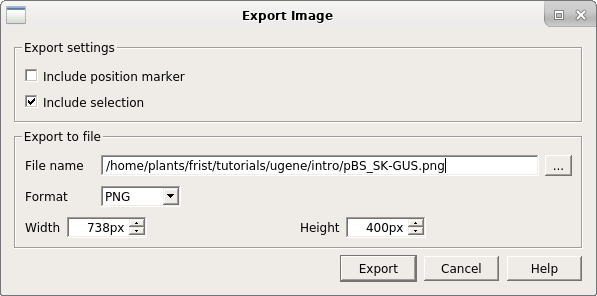
image. For this example, call the file pBS_SK-GUSmap.png. Ugene saves files in PNG format by default, but a variety of formats are supported. You can view the file by opening it from the file manager, or importing it into a document. |
 |
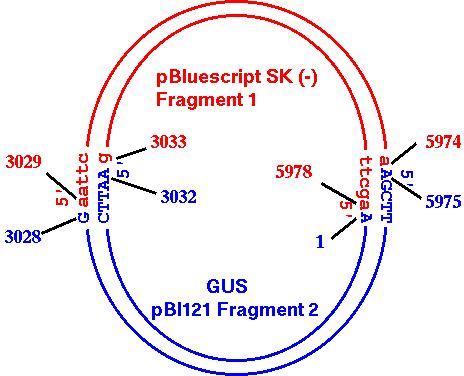
| To
make it absolutely clear what is happening in the cloning
process, the diagram at right shows how pBI121
Fragment2 and pBS_SK- Fragment 1 ligate together. |
 |
| To launch bldna, either type 'bldna' at the command line (make sure you are in the intro directory first), or from the BIRCH launcher, choose Sequence --> bldna, and set the working directory to the intro directory. Choose File --> Open and pBS_SK-GUS.gb. |  |
| The first few lines of the output
verify the sequence length is 5978, and the topology is
circular. Examples of information for two sets of digests is also shown. |
----------------------------------------------------------- BACHREST Version 09/30/2012 pBS-SK-GUS Topology: CIRCULAR Length: 5978 bp ----------------------------------------------------------- Search parameters: Recognition sequences between 6 and 21 bp Ends: 5' protruding, Blunt, 3' protruding Type: Symmetric, Asymmetric Minimum fragments: 0 Maximum fragments: 6000 Maximum fragments to print: 30 ----------------------------------------------------------- # of Enzyme Recognition Sequence Sites Sites Frags Begin End -------------------------------------------------------------------------------- AarI CACCTGC(4/8) 2 1494 5248 2224 1493 2224 730 1494 2223 AatII GACGT^C 0 |
| Excerpts from the file verify
that both EcoRI and HindIII cut this construct once each. Note that the coordinates for these sites differ slightly from those listed in Ugene. The reason is that Ugene lists the position of a site at the beginning of the recognition sequence, whereas BACHREST lists the position of a site at the 5' end of the cut site, which is the top strand of the fragment to the right of the cut. For example, for the HindIII site 5'A^AGCTT3' Ugene lists he position of the site as the first A, whereas BACHREST lists the site at the second A. |
EcoRI G^AATTC 1 3029 5978 3029 3028 HindIII A^AGCTT 1 5975 5978 5975 5974 |