All registered students and U of M staff should already have a working U of M userid and password. If your account has not already been setup to use Linux, follow the instructions at Connecting to CCL Linux.
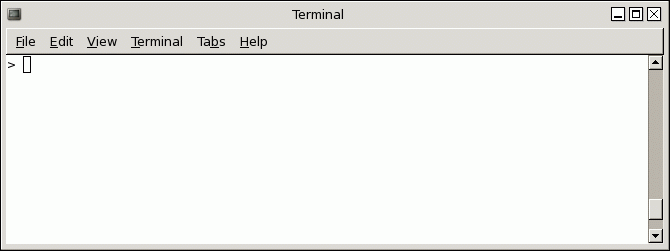
Since you'll be typing several commands, you need a terminal
window. From the Applications menu, choose Applications -->
System tools --> Terminal.
A terminal window should pop up:
The shell is a program that executes commands. Every time you type a command, or every time a program is run from your account, the shell runs that command. There is a choice of shells on most Unix systems, including the Bourne shell (sh), the Bourne-Again shell (bash), the C-shell (csh) the K-shell (ksh) and the T-shell(tcsh). BIRCH can run using any shell as the default shell. Unless you have a favorite shell, we recommend bash for most users. In particular, avoid the Bourne shell (/bin/sh) because it can't display the current working directory in the command prompt. To find out your default shell, type
echo $SHELL
If the command returns
/bin/bash
then you are using bash and don't need to change it.
|
UPDATE September 9, 2017: All
new Linux accounts should now default to the bash
shell. If you have an older account, your default
shell might be something other than bash, such as
/bin/ksh. In that case, you need to get your default
shell changed to bash by IST. Either send an email
request to servicedesk@umanitoba.ca, or go to one of
the IST offices listed on the Central
Computing Unix System page. |
| cd chmod go-rw $HOME chmod go-rwx * |
go to your
$HOME directory turn off (-) permissions for others (go) to read or write (rw) your $HOME directory turn off permissions for others to read, write or search files or directories within your $HOME directory |
Now you're ready to run the newuser script.
Two things need to be setup in order to use the programs. First, your $PATH must include the directories in which BIRCH executable files are found. Secondly, many of the programs need to know where to find data or configuration files. The locations of these files are specified by environment variables that are automatically set when you login.All of these processes can be made transparent to the user by running the 'newuser' command. At the command prompt, type
/home/psgendb/admin/newuser
This will add some lines to your .login and .cshrc and
.profile files, which contain commands that execute each time you
login. (Comparable to AUTOEXEC.BAT in DOS). These commands 1) set
your path 2) set your environment variables, 3) set your prompt to
display the current working directory and hostname.
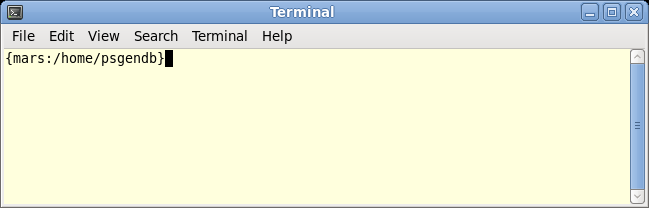
| Now, open a new terminal window. It should
now look something like this. The login host name and the path to your home directory will appear inside curly brackets {}. |
 |
A window manager is a program that executes when you login from a terminal or workstation. It controls how windows are displayed, what windows can do, and the types of programs that can be launched by pointing and clicking. Most desktop programs can be run regardless of the window manager in use.
The default window manager on this platform is the GNOME Desktop.
Next: Customizing your
desktop
What if I want to remove BIRCH access from my user account?
To remove BIRCH access for your account, type
/home/psgendb/admin/nobirch
This deletes the lines that were added by the 'newuser' script to your .login, .cshrc, .profile, .bash_profile, and .bash_login files. (All of these lines contain the string '#_BIRCH'). You can always restore BIRCH access by running 'newuser' as described above.