Construction of the Truncated Icosahedron
Back to gallery of modelsStep 1
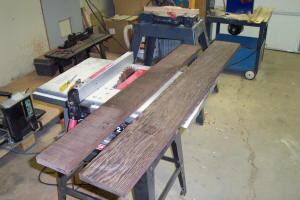
Start with two rough boards of a type of wood called wenge.
Step 2
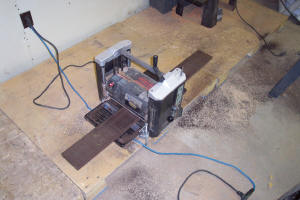
Run both sides of the two pieces through a thickness planar. This removes rough saw marks and slight cuppling, and ensures even thickness. Then sand both faces to remove cutter marks.
Step 3
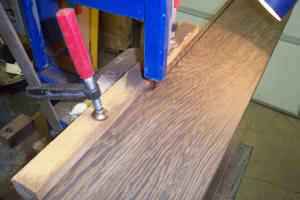
Rip the boards on the bandsaw, which removes far less stock than the table saw.
Step 4
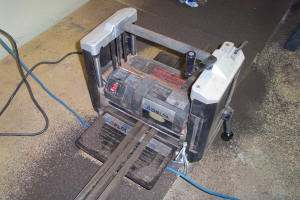
Plane off the bandsaw marks to get consistent thickness.
Step 5
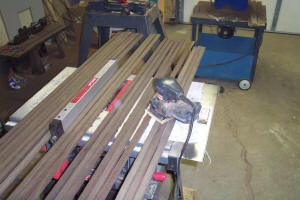
Again, sand out cutter marks. Do both sides, because even though one side will face the interior, if both sides are sided, one has flexibility in choosing which side is facing out.
Step 6
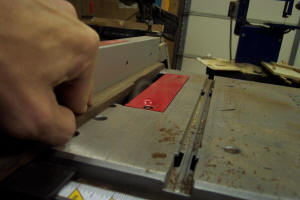
Now make the bevels on the table saw (I have since made featherboards to hold the piece and to prevent kick back). There are two different angles (for hex-hex and hex-pent) and these must be kept separate.
Step 7
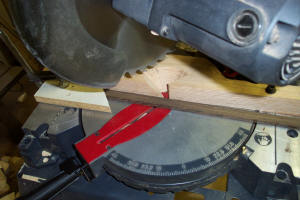
On the mitre saw, cut 5 inch lengths (at 54 degrees for pentagons, e.g.), measured on the bevelled edge. Check for consistent thickness and width (because of snipe from the planar at the ends), throwing out thin pieces.
Step 8
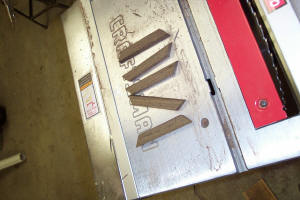
Ordinarily, I just take the pieces and glue them into polygons. However, a few years ago, one of these models was dropped and broken, so all these joints will be dowelled for this model. It should last a few hundred years!
Step 9
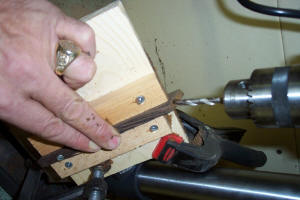
Make a jig and use the drill press to drill out holes for the dowls. There is little room for error (3/8 inch hole in 1/2 inch stock). If one drills too quickly (or has a dull bit), the hard wenge will actually force the drill bit to go off center.
Step 10
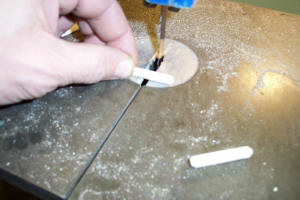
Standard dowels are slightly too long for this application, so cut them in half.
Step 11
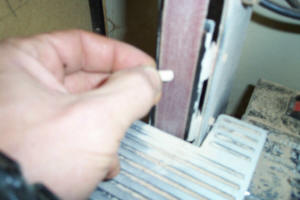
Round off the dowels' cut edges at a sanding station.
Step 12
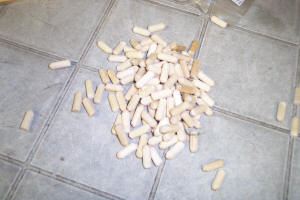
Next time, I'll see if they make shorter dowels, because quite a few are required!
Step 13
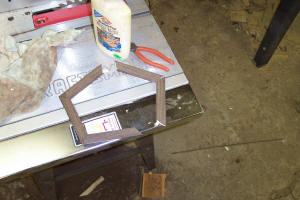
After dry fitting, glue up the pentagons, using a jig to ensure angles are preserved.
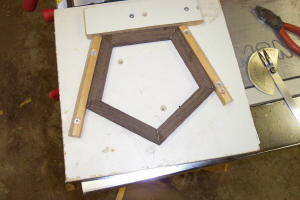
A pentagon is laid to dry.
Step 14
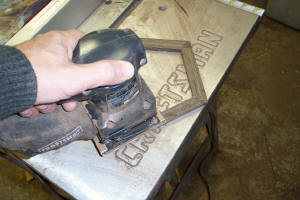
Sand smooth, using a little glue as filler while sanding. The inside face is most important, as it might not receive any further sanding.
Step 15
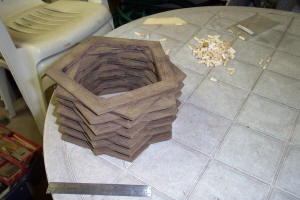
Complete twelve pentagons.
Step 16
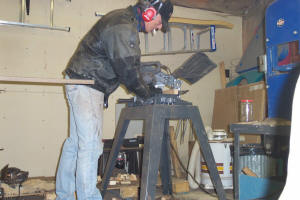
It's time to get back to the mitre saw and start on the hexagons! Eye protection should also be worn.
Step 17
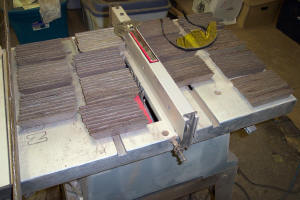
Remember to measure carefully every so often, because just one mistake on any one of these pieces (for hexagons) will make final assembly nearly impossible!
Step 18
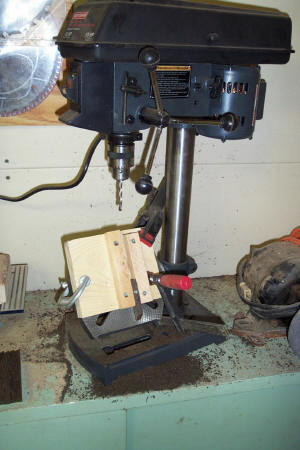
Again, drill out dowel holes (a different angle).
Step 19
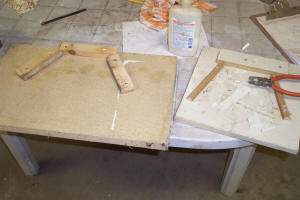
Make another jig to true the angles in a hexagon.
Step 20
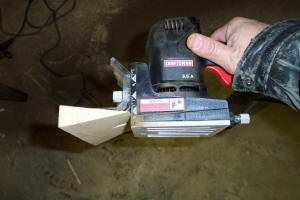
For added strength (and ease of assembly), I decided to join faces with bisciuts. I didn't own a good biscuit joiner with an adjustable angle on the fence so I adapted.
Step 21
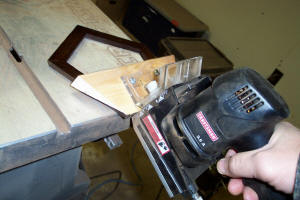
Put slots in all outside edges.
Step 22
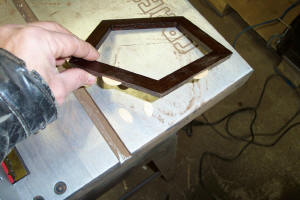
Put biscuits in all slots.
Step 23
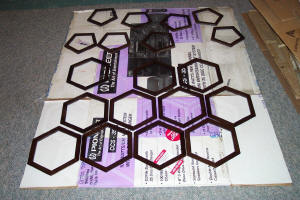
Cleanup can be messy, so I decided to put a light coat of varathane on the pieces beforehand.
Step 24
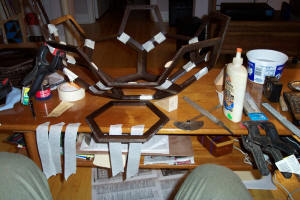
Now comes the final dry fit. Some pieces fit slightly better than others, so make spares and be patient.
Step 25
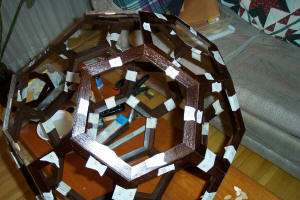
Okay, theoretically, this should fit. Now number all the joints (both sides).
Step 26
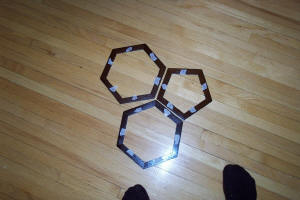
Take the model apart, and lay out the pieces in some order.
Step 27
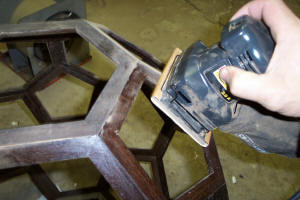
After gluing, shape, sand, and then finish.
Step 28
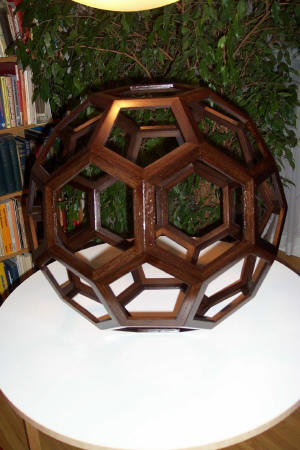
The model - still requiring another 10 finish coats.
Step 29
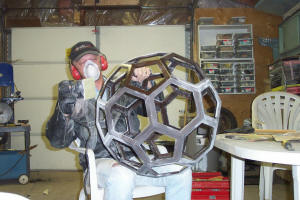
Sand it all down and apply more coats.
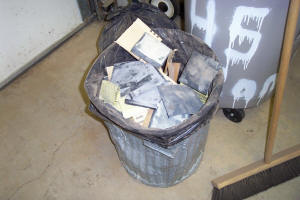
Wenge is very hard, so be prepared to use a lot of sandpaper.
Step 30
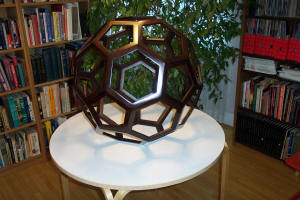
The finished product! It should be a little smoother than before.
Back to gallery of models