Next, you will select two files containing information about the gel
or film format.
- The gel-format file contains an ordered list of
lane labels for the size-standard lanes and experimental lanes.
- The template-definition file contains
the fragment sizes of the bands in the size-standard lanes and their
positions (mobilities) in the template.
These files are selected through the Gel-Format File Browser and
Template-Definition File Browser.
You will be led through a series of popup windows in which choices are made.
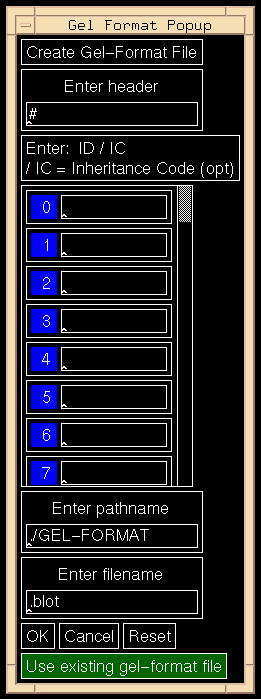
Here is a list of those windows (popups shown in Figure 3.3):
Gel-Format Popup,
Gel-Format File Browser,
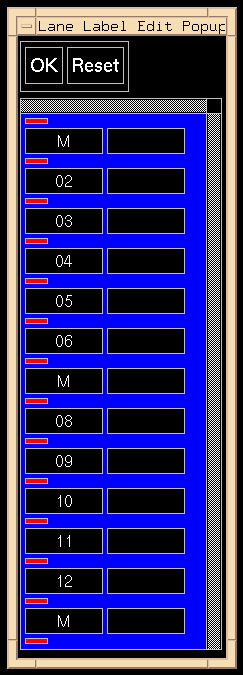
Lane Label Edit Popup,
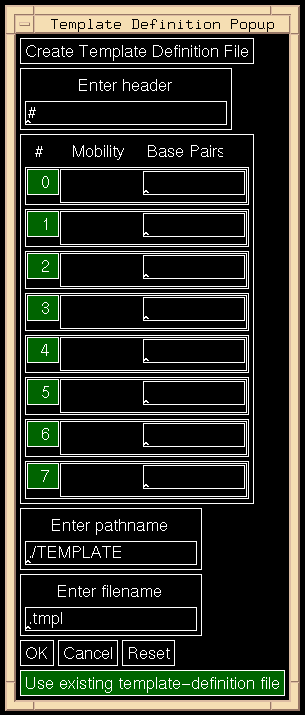
Template-Definition Popup,
Template-Definition File Browser.
 ***
***
 ***
***

Figure 3.3: Gel-Format, Lane Edit, and Template Definition Popups.
After a gel-format file and a template-definition file
have been selected, various text fields in the Image Information Region to
the upper right of the screen are available for input.
Here, you may enter information such
as the operator name, probe name, filter name, or other appropriate data.
- Pointer to Operations Submenu, click [Enter Params] .
The Gel-Format Popup appears (Figure 3.3).
- Click the bottom button [Use existing gel-format file] .
The Gel-Format Popup disappears, and
the Gel-Format File Browser appears.
See Section 5.7
to create a new gel-format file.
- Click the pointer over the file to load, in this case, k102.blot.
The Gel-Format File Browser disappears, and
the Lane Label Edit Popup appears.
See Figure 3.3.
The Status Information Region reports:
                          #Family: K102
                          Number of lanes id'ed in gel-format file: 19
The first line is simply the header from the gel-format file;
the second line shows the number of lane labels listed in that file.
- Click [OK] in the Lane Label Edit Popup.
The Lane Label Edit Popup disappears, and
the Template-Definition Popup appears.
See Figure 3.3.
- Click [Use existing template-definition file]
at the bottom;
The Template-Definition Popup disappears, and
the Template-Definition File Browser appears.
See Section 5.7
to create a new template-definition file.
- Click the pointer over the file to load, in this case, k102.tmpl.
The Template-Definition File Browser disappears, and
control reverts to the Operations Submenu.
The Status Information Region reports:
                          #RFLP_AVG
                          Number of template points: 16
The first line is simply the header from the template-definition file.
The second line shows the number of template points listed in that file.
- Enter information in Image Information Region.
See Figure 3.4.
The top two text fields in the Image Information Region contain
the header lines from the gel-format and template-definition files.
The remaining fields are text fields into which you enter what
you like. The labels for these fields are:
gel date, filter \#, probe, operator, film \#, exposure.
Move pointer to particular field, enter field using keyboard to
enter text, and move pointer to next field. In these fields, it
is not necessary to use the Enter or Return keys.
This image information may be entered and edited at any time.

Figure 3.4: The Image Information Region
Backward to Chapter 3 outline
Backward to Chapter 3, section 3.1
Forward to Chapter 3, section 3.3
Table of Contents
 ***
***
 ***
***

 ***
***
 ***
***

